There are 6 steps in creating a custom made cascade structure:
Step 1 – How do I mount the cascade? (plus fixing kits)
Step 2 – Choosing Your Entry Option
Step 3 – Selecting The Right Pump Size
Step 4 – Creating A Reservoir
Step 5 – Connecting the hosing from the pump to the cascade
Step 6 – Creating Modern Effects (Mirrors & Lighting)
How high can I mount the cascade?
You need to consider that the higher the drop, the more the water will splash and the more it will be blown around by the wind. The column of water will also tend to be drawn together by surface tension to create a ‘tailing’ effect, which will be accentuated the higher the drop. A realistic maximum height is 1.5m, although 2m is possible.
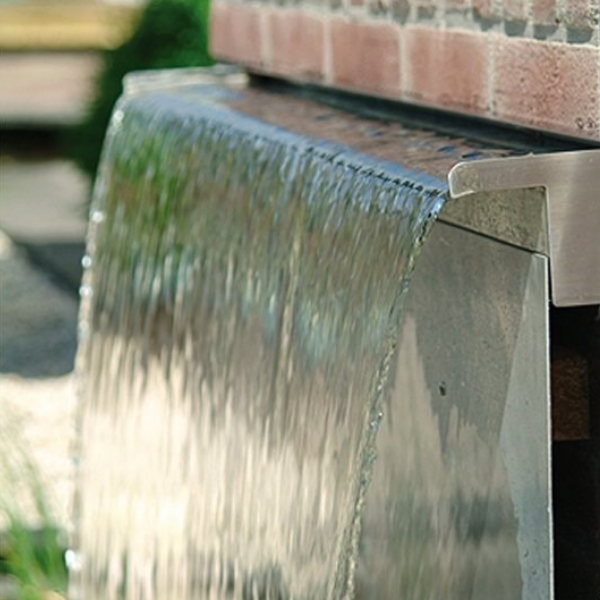
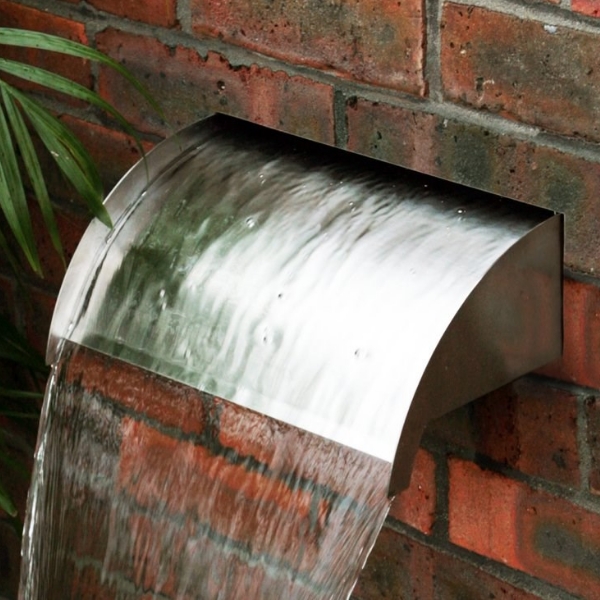
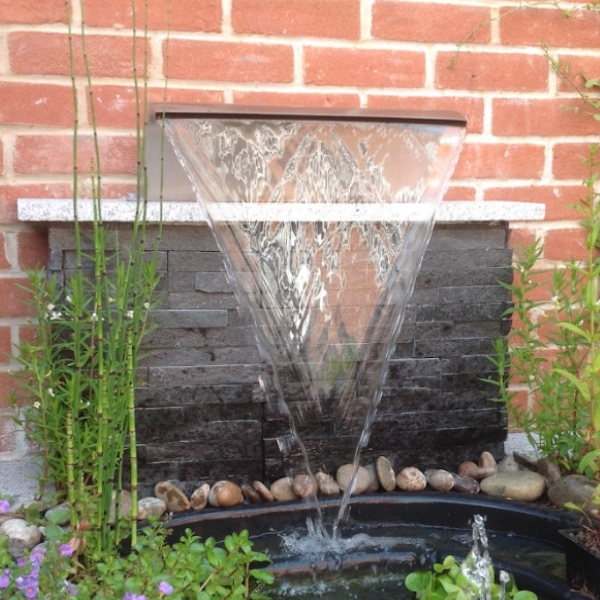
Step 1 – How do I mount the cascade?
1. Screed
You can build your cascade into a wall. You need to make sure the surface you place it on is level and easily accessible from either the bottom or rear (depending on entry option, see step 2).
2. Welding
We do not recommend drilling holes into the cascade as the water can leak out. If you would like to attach it to a metal surface then welding is an option.
3. Glue
A strong glue can also be used to fix this to a flat surface. This has to be waterproof, e.g Evostick nail & sealIt is a good idea to measure up your area before commiting to a certain size cascade.
Please note: Apart from the overall width which differs depending on which cascade you choose, all other dimensions are the same for all cascades.
Fixing Kits
Our fixing kits make it easy to install your cascade/waterfall. All the connectors that you require will be supplied with the fixing kit. The type of fixing kit you require will all depend on what size cascade you have brought.
As shown in the table below each kit comes with everything you need to connect your cascade to your pump:

| Cascade Width (Links to examples below) | Hose Tails (25mm) | Flow Controls (25mm) | Hosing (25mm) | Manifold | Jubilee Clips |
|---|---|---|---|---|---|
| 15-45cm | 1 | 1 | 2 Metres | N/A | N/A |
| 60cm | 1 | 1 | 2 Metres | N/A | N/A |
| 75cm-90cm | 2 | 2 | 4 Metres | 1 x (2 Outlets) | 3 |
| 120cm | 3 | 3 | 6 Metres | 1 x (3 Outlets) | 4 |
| 150cm | 3 | 3 | 6 Metres | 1 x (3 Outlets) | 4 |
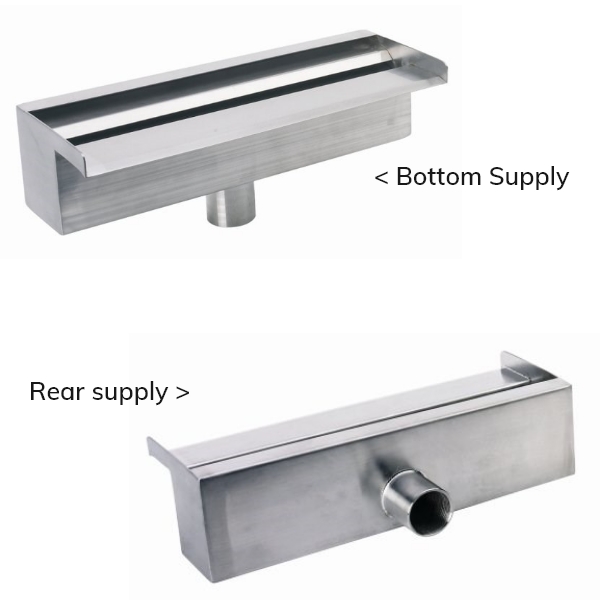
Step 2 – Choosing Your Entry Option
Your next step in creating your water feature is to choose an entry option. Your options are:
Rear supply
Bottom Supply
This will depend on your situation and how you would like to mount the cascade.
Rear supply has an inlet on the back of the chamber if you’re feeding the hose through the wall from the back.
Alternatively, choose a bottom supply if the hose is coming up through the wall (e.g. behind the plate).
Step 3 – Selecting The Right Pump Size
Once you know how you will fit the cascade and which size you would like then you need to get a pump that will be strong enough for a good consistent water flow. To get the full effect, a lot of water needs to be pumped through the cascade. Pumps are usually described in terms of “litres per hour” (lph).
The two factors are:
1) Width of the cascade, and
2) Height (i.e. height from the pump to the cascade)
The chart below gives a rough guide of which size pump you will need with each size cascade for certain heights.
Select the height you want to pump water to from the left hand column and then read across until you hit the width of your cascade. For example if you want to pump water to a height of 125cm using the 90cm width cascade, you need to purchase a 12000 litre/hour pump. If you want to pump water to a height of 150cm using the 120cm cascade you will need an 18000 litre/hour pump.

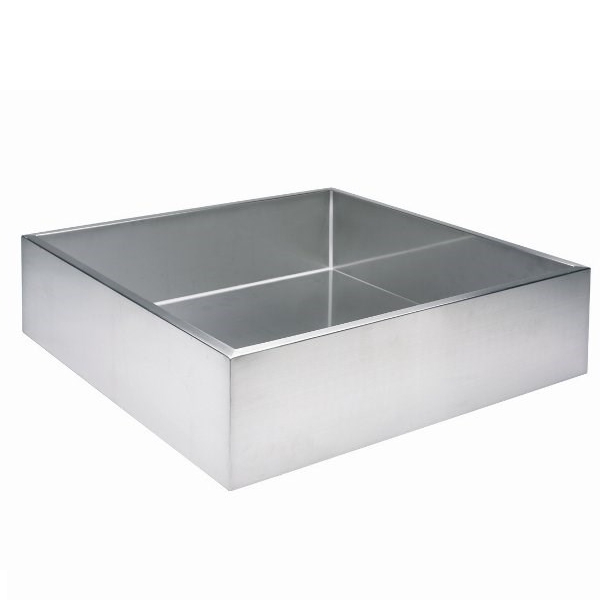
Step 4 – Creating A Reservoir
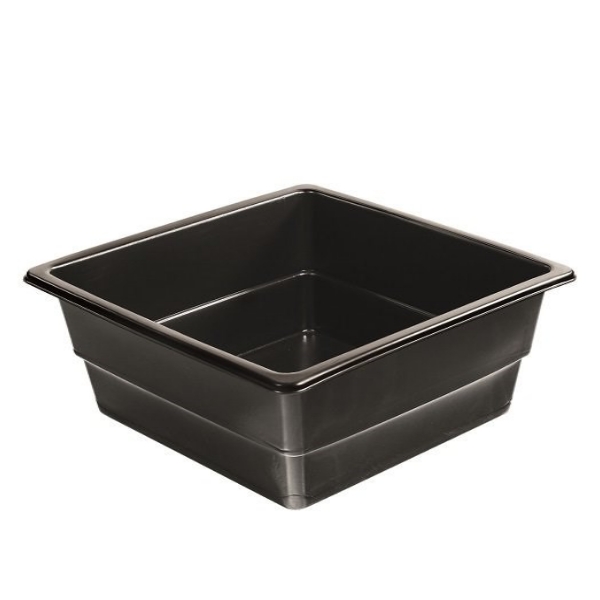
It is key, in creating your cascade/waterfall feature, that the reservoir tank that stores the water is large enough and collects all the water flowing from the cascade (otherwise you will lose water and keep having to refill the cascade). In creating your water feature you will want to hide the pump in the water as well as the hosing connecting the pump to the cascade. One option is to create a trough in the ground and then line it using a pond liner. We have a range of reservoirs which come in many shapes and sizes. You also have the option of plastic or stainless steel depending on taste.
Our range of reservoirs are shown below:
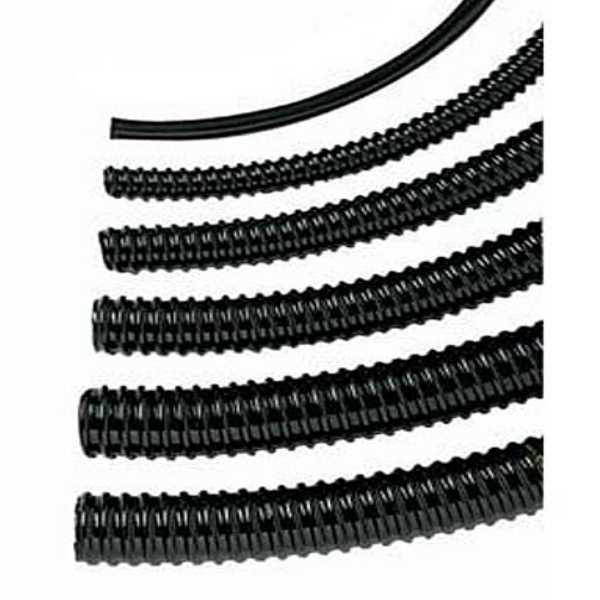
Step 5 – Hosing
The tubes sticking out of the back or bottom of the cascade are approx. 1¼ inch (3cm) internally threaded. We supply threaded 25mm ‘Hose Tails’ that screw into the tubes for easy connection to 25mm hose tubing. (1 x Hose tail with 30cm and 60cm, 2 x Hose tails with 90cm and 3 x Hose tails with the 120cm and 150cm). Please note that for 90cm and larger widths there’s more than one tube at the back – so you’ll need a hose splitter (2-way or 3-way) to connect one pump to the cascade.
Step 6 – Creating Modern Effects
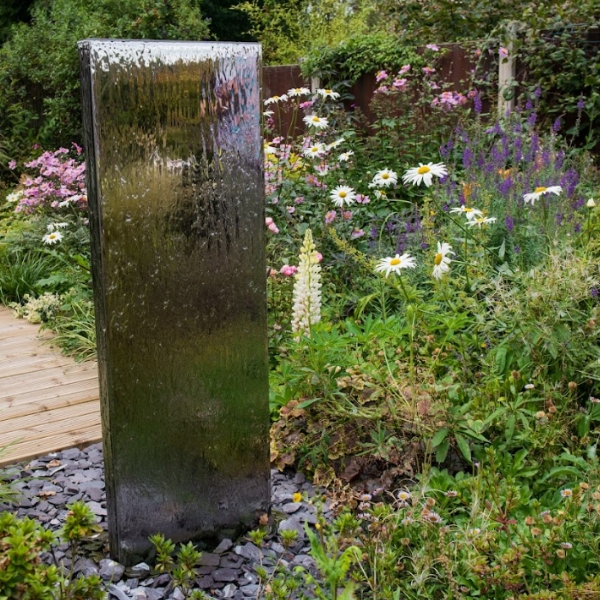
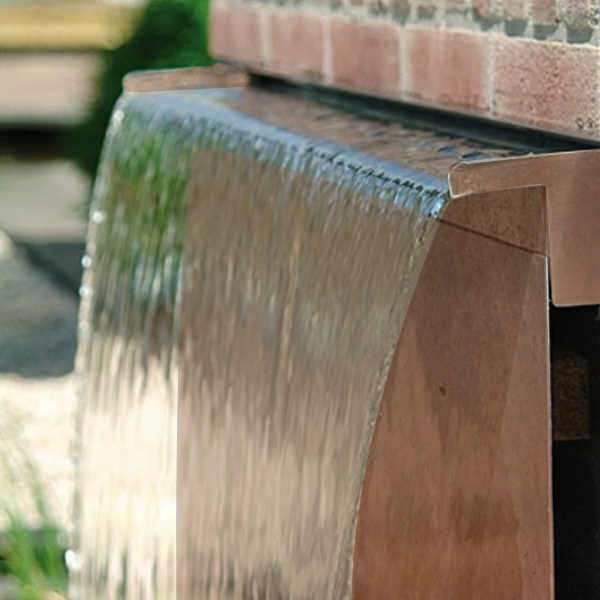
Mirrors
In our experience of waterfall cascades we have found that you can create a really good effect using a mirror as a backing plate for your waterfall. The water running down in front of the mirror creates some nice light effects when in direct sunlight. We have a range of mirrors in various sizes and colours available.
Garden mirrors | Link to examples
Standing Water Walls | Link to examples
Coloured mirrors | Link to examples
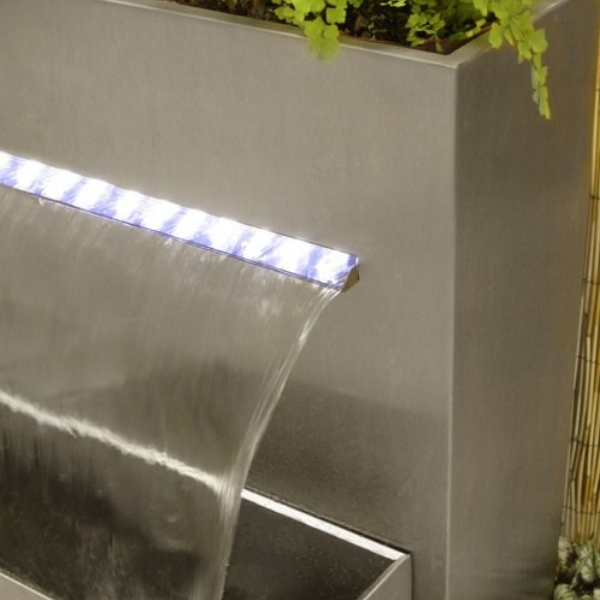
Lighting
You can create some really colourful lighting effect for night time usage using our underwater LED lights.
We also have a range of LED light strips in a variety of colours to fit each cascade size. These will be listed on the product pages.
Colour underwater LED | Link to examples
Cascading Features w/ lights | Link to examples